Note: If the MFP you are setting up does not appear in the [Synappx Cloud Print Portal] – [Devices] list, you will receive an Error 500 message when trying to connect the MFP to the service.
From the MFP Web Browser – go to System Settings – Security Settings – SSL/TLS Settings.
Ensure IPP-SSL/TLS is set to “Enable”. Click Submit [View Image].
Make sure Domain Name is blank System Settings – Network Settings – Active Directory Settings] [View Image].
Go to System Settings – Authentication Settings [View Image].
Change [User Authentication] to “Enable”
Change [Authentication Server Settings] to “Sharp OSA”
Do not reboot if asked as you still need to add some OSA settings
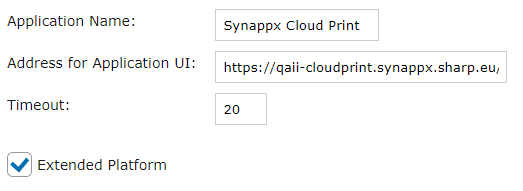
Go to System Settings – Sharp OSA Settings – Standard Application Settings - Add
Application Name: Synappx Cloud Print
Address for Application UI: https://cloudprint.synappx.sharp.eu/mfp/home.jsp
Check the “Extended Platform” check box [View Image].
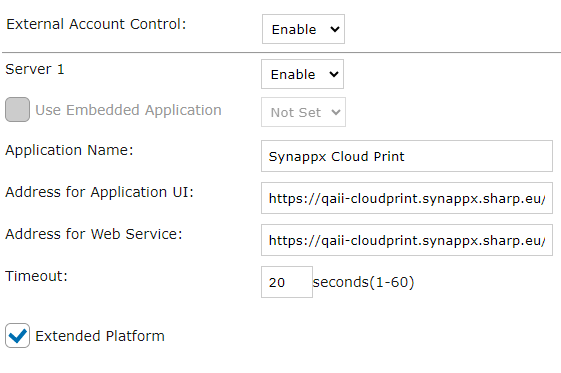
Go to System Settings – Sharp OSA Settings – External Accounting Application Settings
Check settings:
External Account Control: Enable
Server 1: Enable
Application Name: Synappx Cloud Print
Address for Application UI: https://cloudprint.synappx.sharp.eu/mfp/login_credentials.jsp
Address for Web Service: https://cloudprint.synappx.sharp.eu/mfp/SharpService
Check the “Extended Platform” check box [View Image].
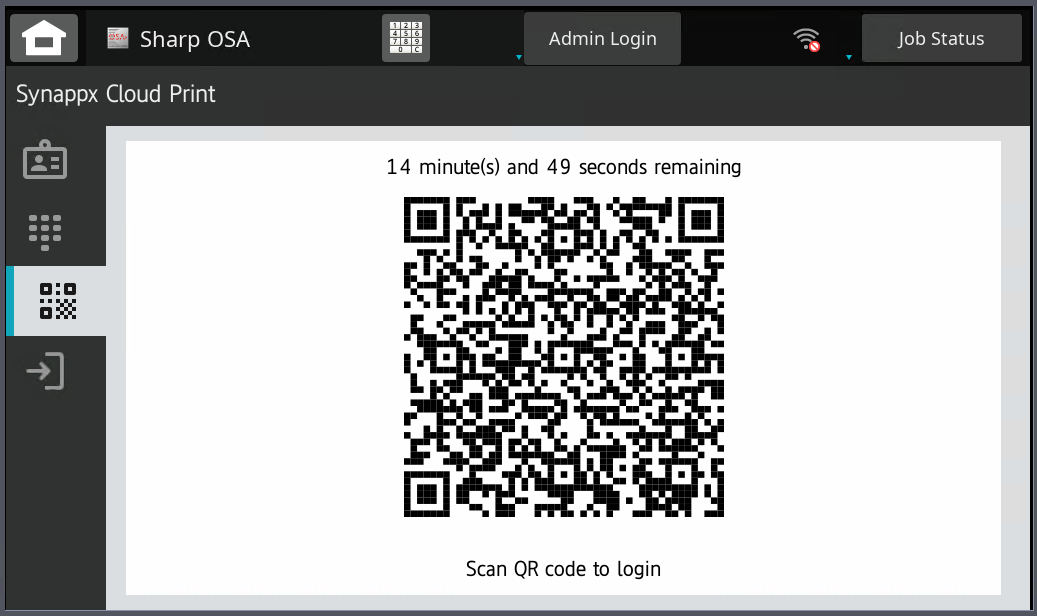
When prompted, reboot the MFP.
If you have correctly entered the settings above then once the MFP has rebooted you should see the Synappx Cloud Print QR Code displayed on the MFP screen [View Image].