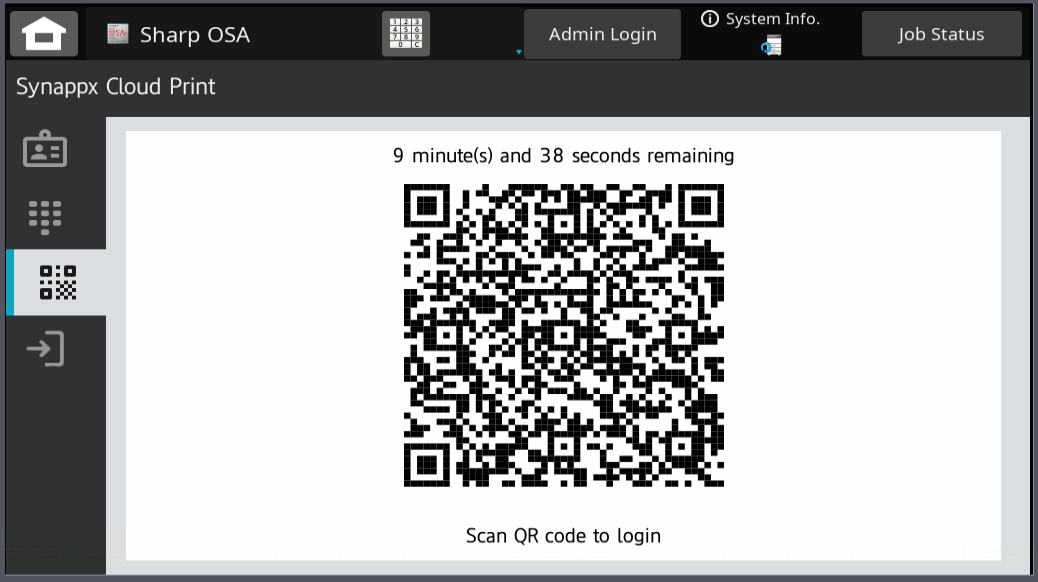
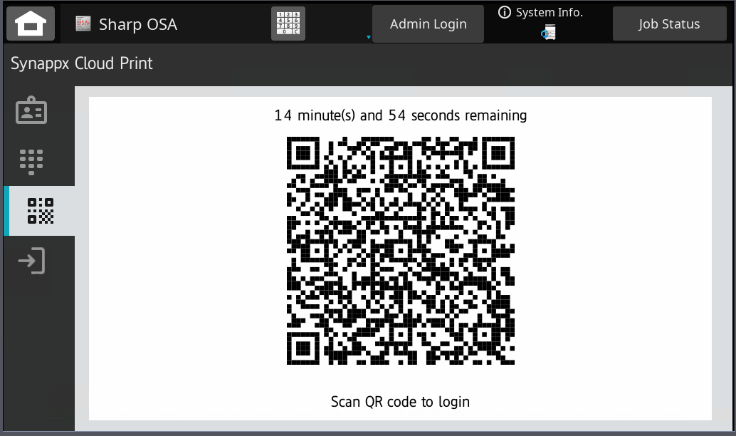
Once the MFP has been set up to work with Synappx Cloud Print the device will be locked and the following screen with a QR code will be displayed [View Image].
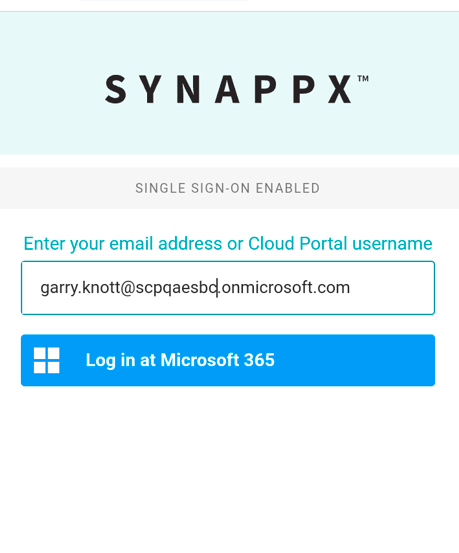
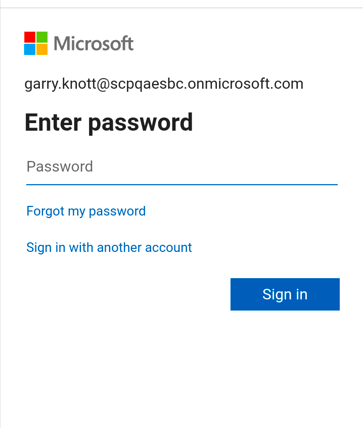
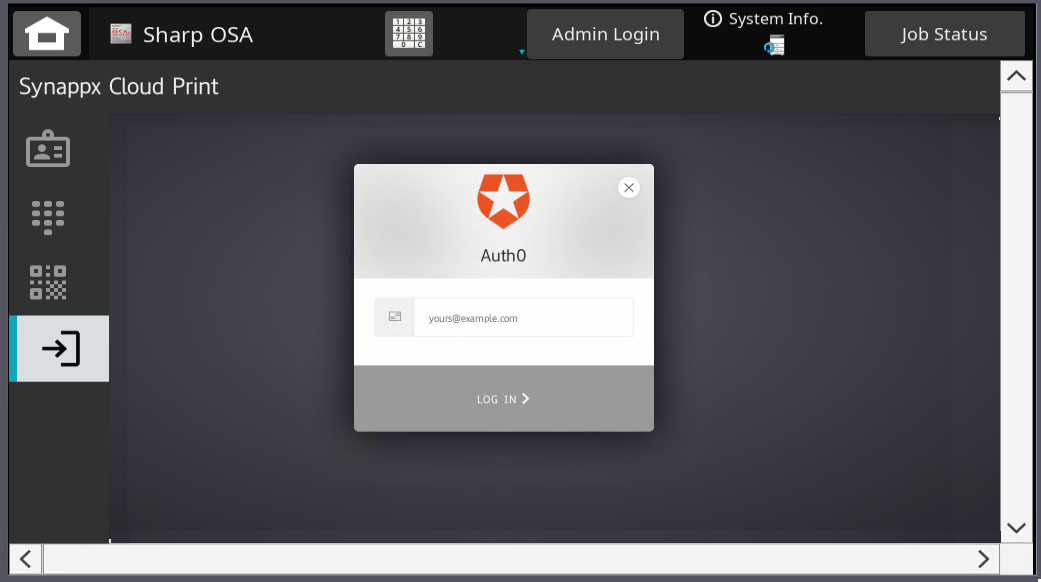
On first MFP login, you will need to either scan the QR code on a mobile phone app, or login using username and password (if available).
QR Code first login
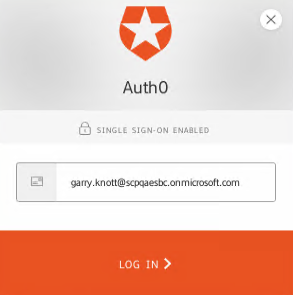
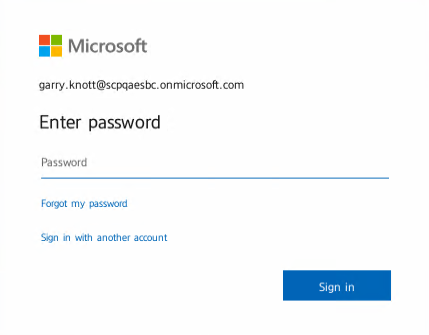
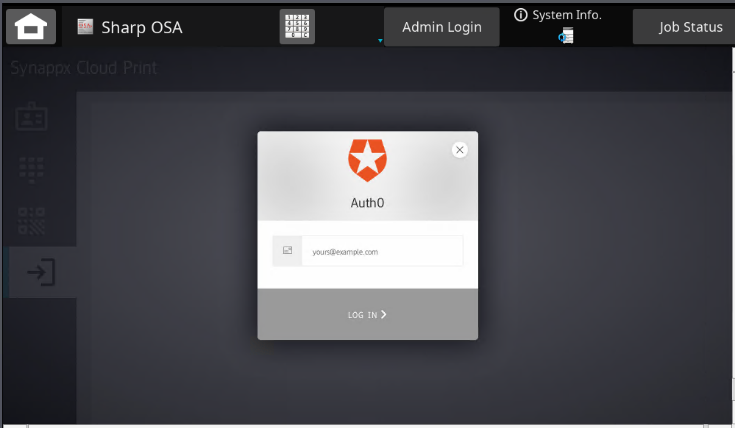
Once scanned, you will be taken to the Microsoft Authentication page where you will enter your account username and password.
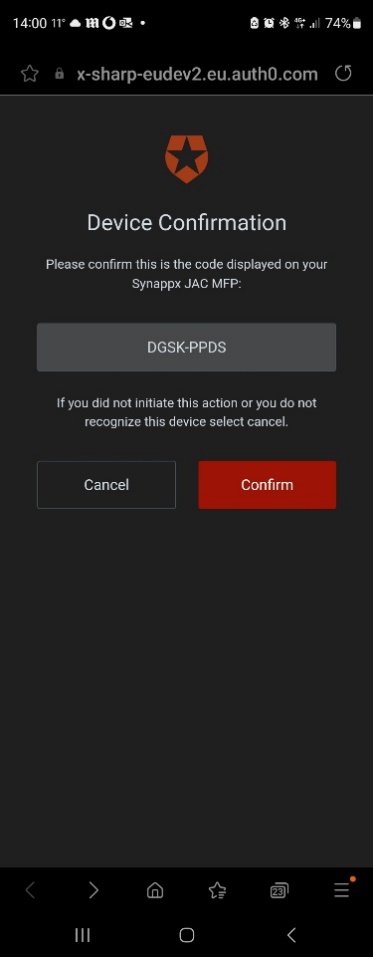
The Microsoft authentication process will ask for Device Confirmation (currently the code is not displayed on the MFP so just press Confirm) [View Image].
Go through each screen on the mobile device [View Image] [View Image] [View Image].
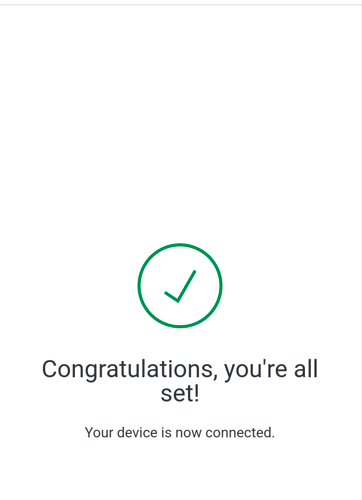
Once past the “Congratulations” screen you will be logged into the device [View Image].
Having used the QR code to provide authentication details you will now be able to log in to the device using the QR code via the same phone without having to enter the authentication details again.
Username & Password First Login
Note: Please note this feature may not be available on all devices.
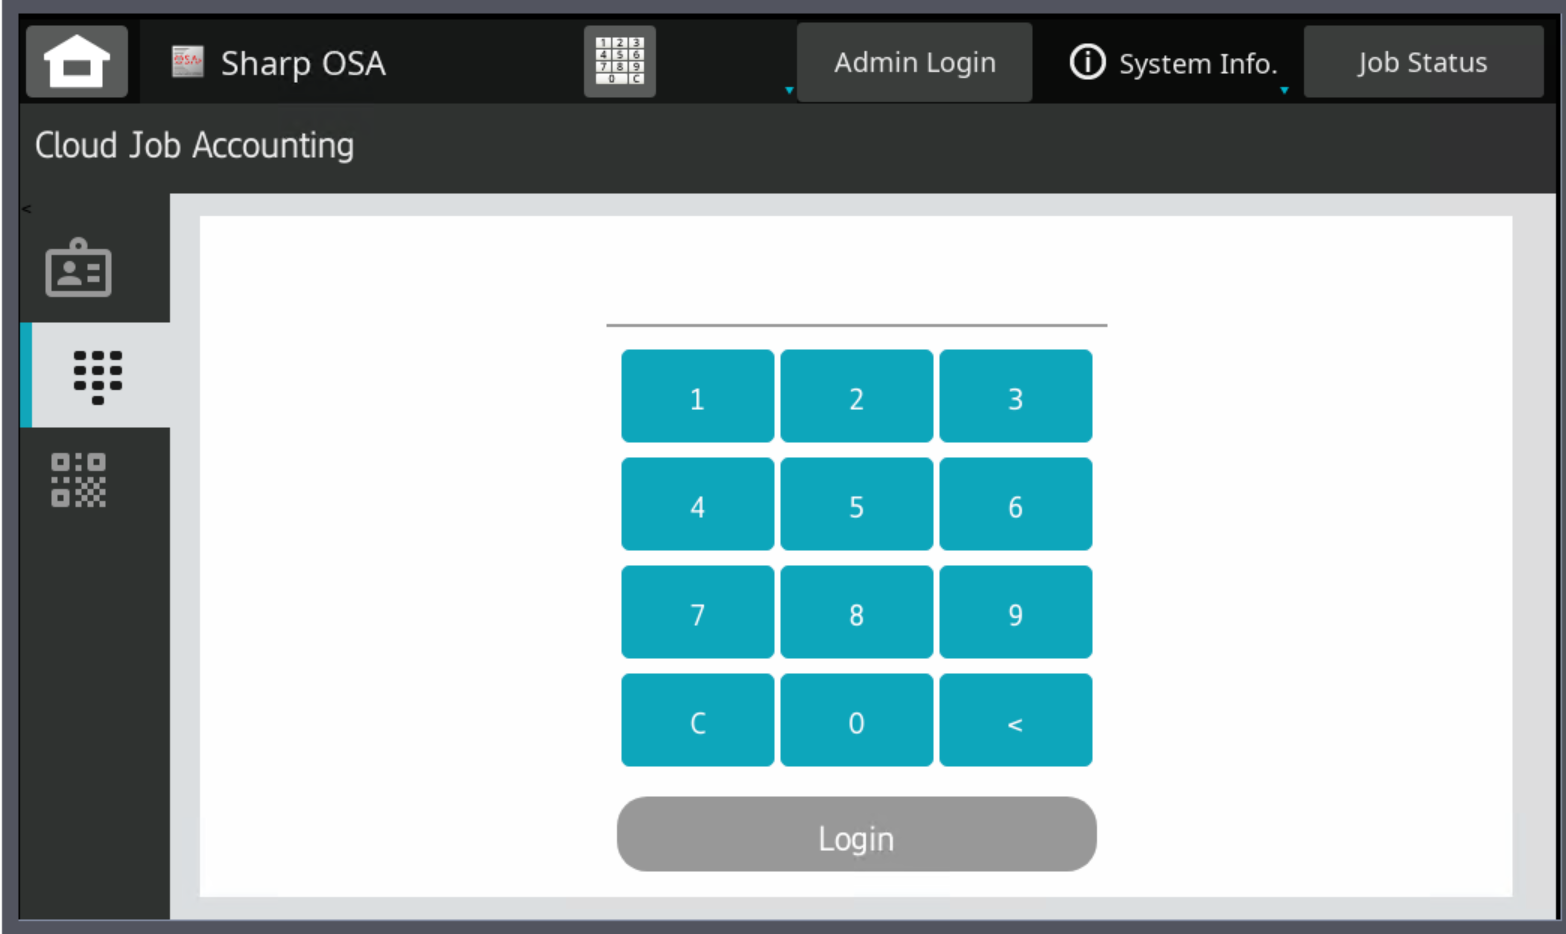
Press the Manual Login Icon to see the manual login screen [View Image].
Follow the MFP on screen prompts [View Image] [View Image].
Once successfully logged in, you will see the device welcome screen.
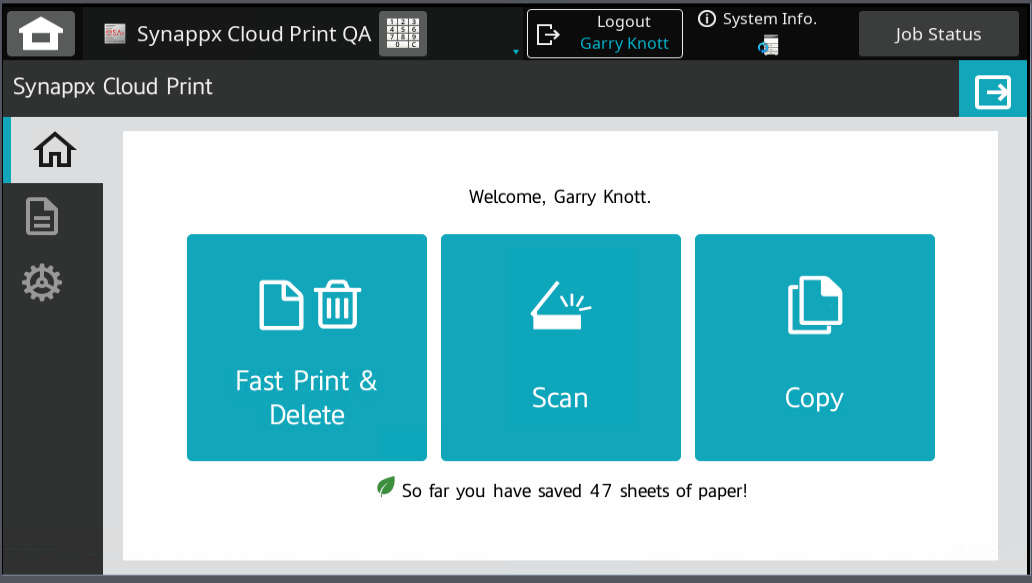
Once logged in, the Synappx Cloud Print home screen will be displayed. You will be logged out either when a timeout occurs or another user presents their card, you can also log out by selecting the Logout button on top of the screen [View Image].
If the Fast Print and Delete option is selected, then all of your queued jobs will be printed and deleted with no further input required.
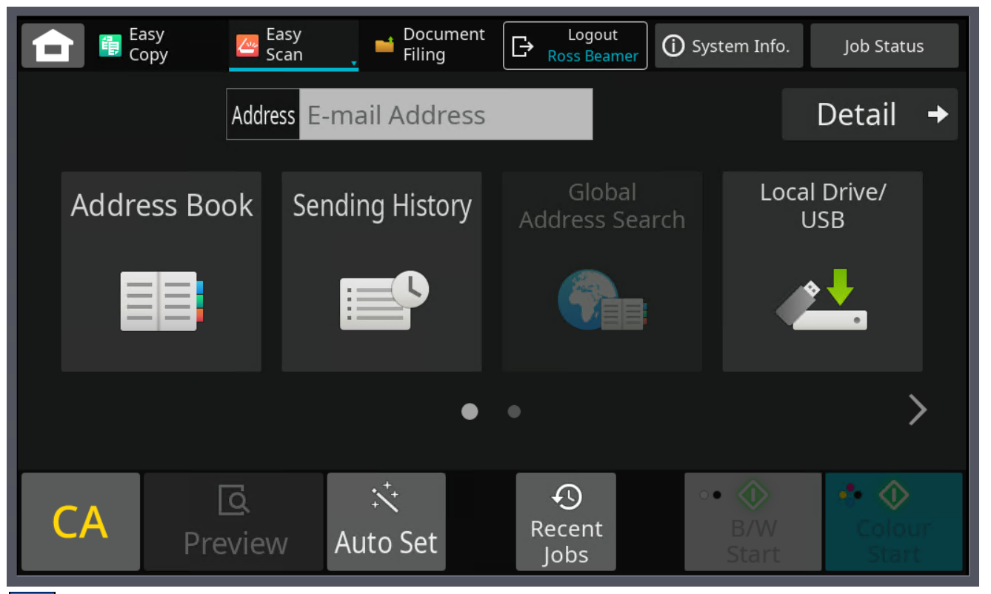
If either the Scan or Copy option is selected, then you will be taken into the MFP native device screen [View Image].
When finished you can either log out of the device using the Logout button or select the Synappx Cloud Print Home button from the MFP front screen [View Image].
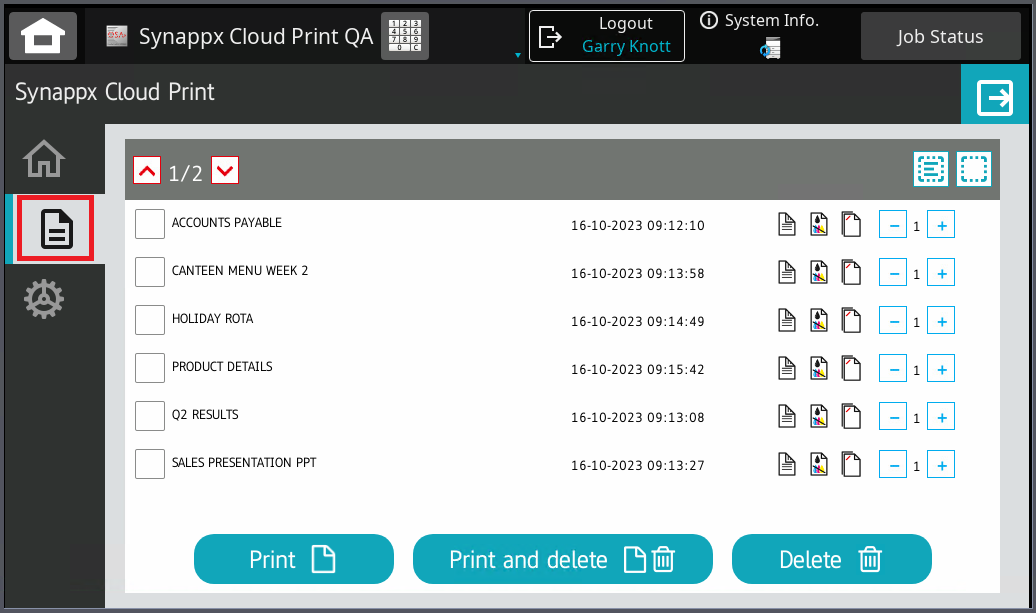
Selecting the My Files button will display a list of your print jobs that are queued for printing [View Image]
The various buttons available to the following:
- Logout button [View Image]
- Page navigation buttons, (where you have more than six jobs available) [View Image]
- Select all jobs & Unselect all jobs [View Image]
- Will print the selected job/s [View Image]
- Will print the selected job/s & delete them from the queue [View Image]
- Will delete the selected job/s from the queue [View Image]
By clicking on the check marks next to a print job, you can select which jobs will be printed or deleted when the Print buttons are used [View Image].
To the right of each print job are three additional job options which are available to allow you to change the job output values [View Image]. The three values are :
- Duplex
- Black & White
- Staple
You are able to select any, some or all of the values for each print job available.
- Selecting duplex will enable you to print your job double sided instead of single sided [View Image].
- Selecting Black & White will enable you to print your job in B&W instead of colour [View Image].
- Selecting Staple will add a staple to your output, (assuming more than one sheet) [View Image].
When you make sustainable choices in your printing process, you are shown a green leaf symbol next to your print job which is also reflected on your home screen [View Image] [View Image].
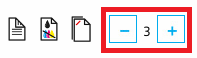
The - & + buttons to the right of each print job allow you to change the number of copies of that print job are output [View Image].
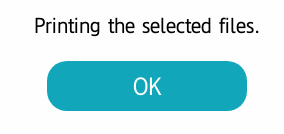
When print job/s are selected and sent to print, you will receive confirmation and will need to press the OK button [View Image].
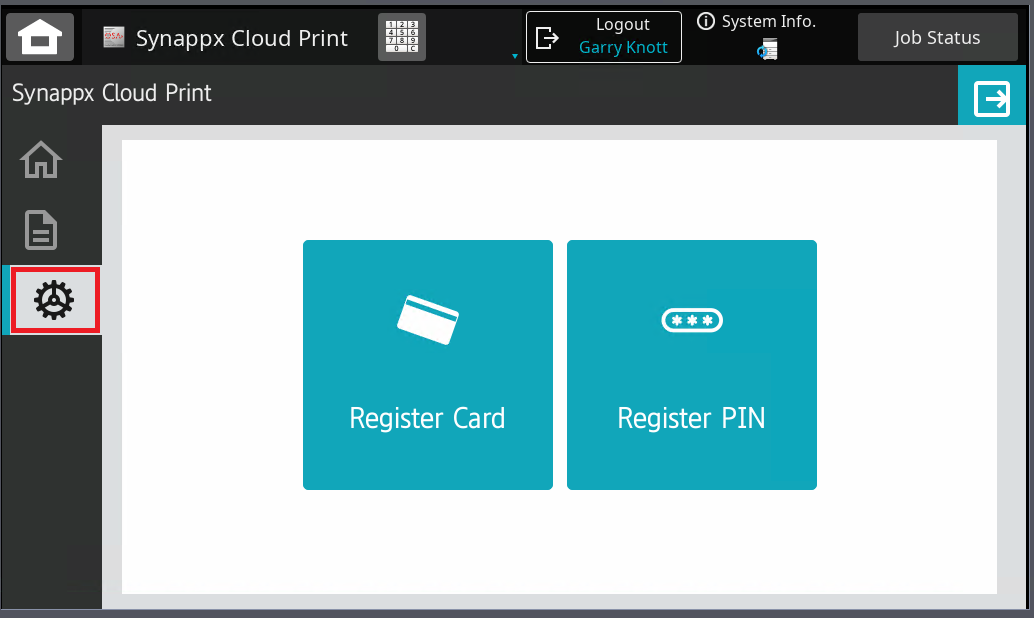
To generate a PIN or register a card you will need to select the Settings icon in the menu bar, you will then have the option to register a card or generate a new PIN [View Image].
Note: You must have logged in via QR Code or Username/Password to be able to register a card or change the PIN.
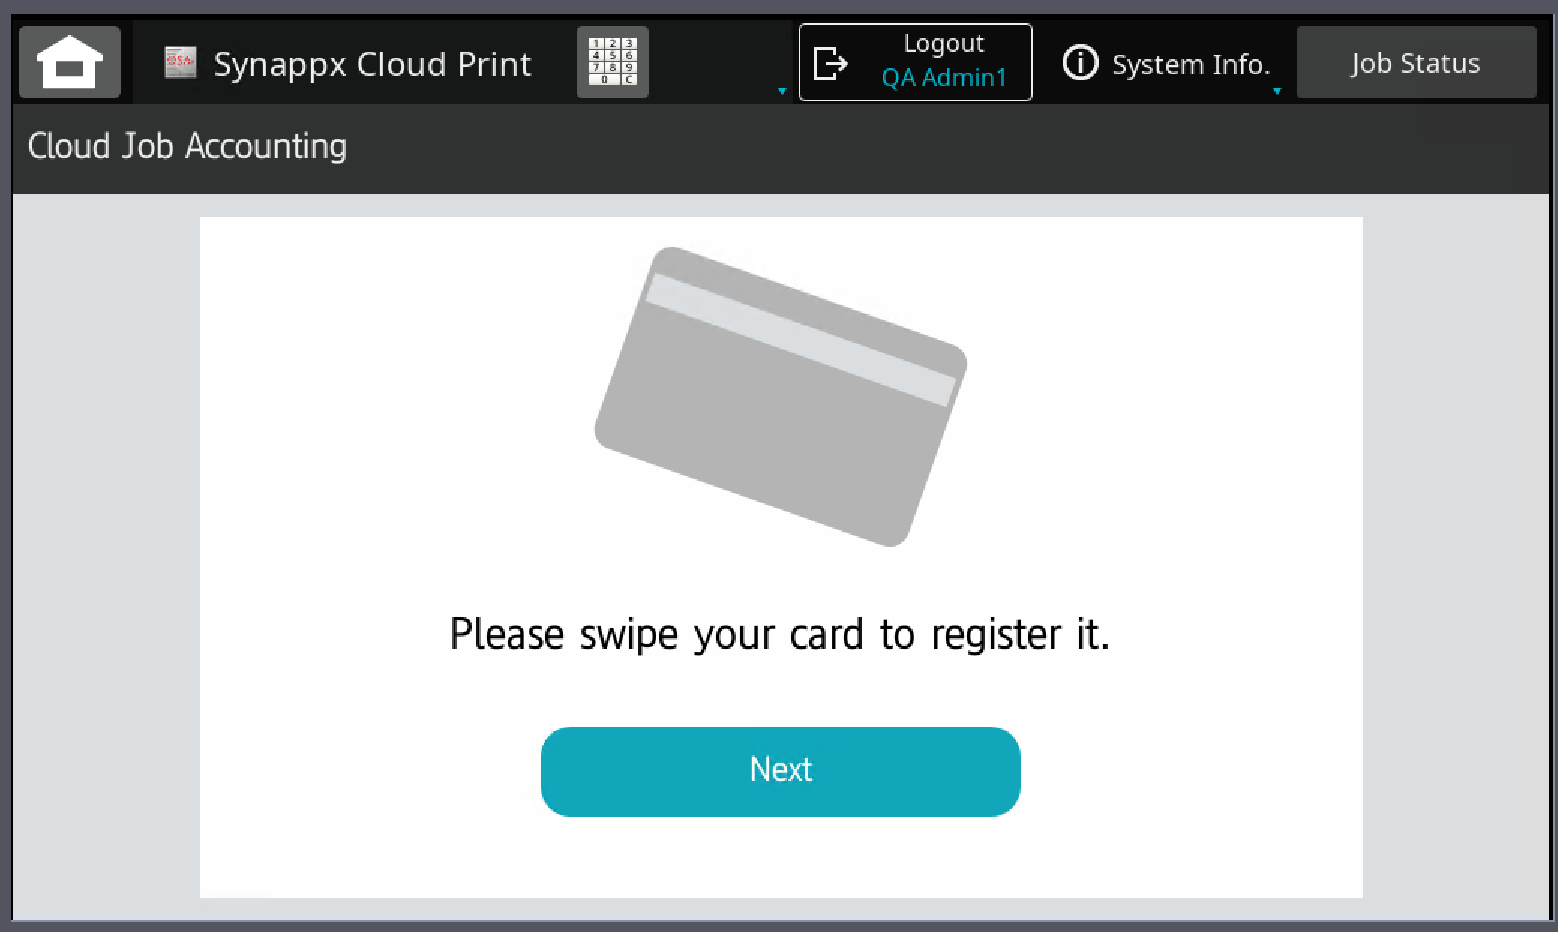
If you select Register a Card, then a prompt to swipe the card will be displayed [View Image].
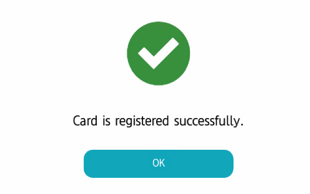
There will be confirmation that the card was successfully registered [View Image].
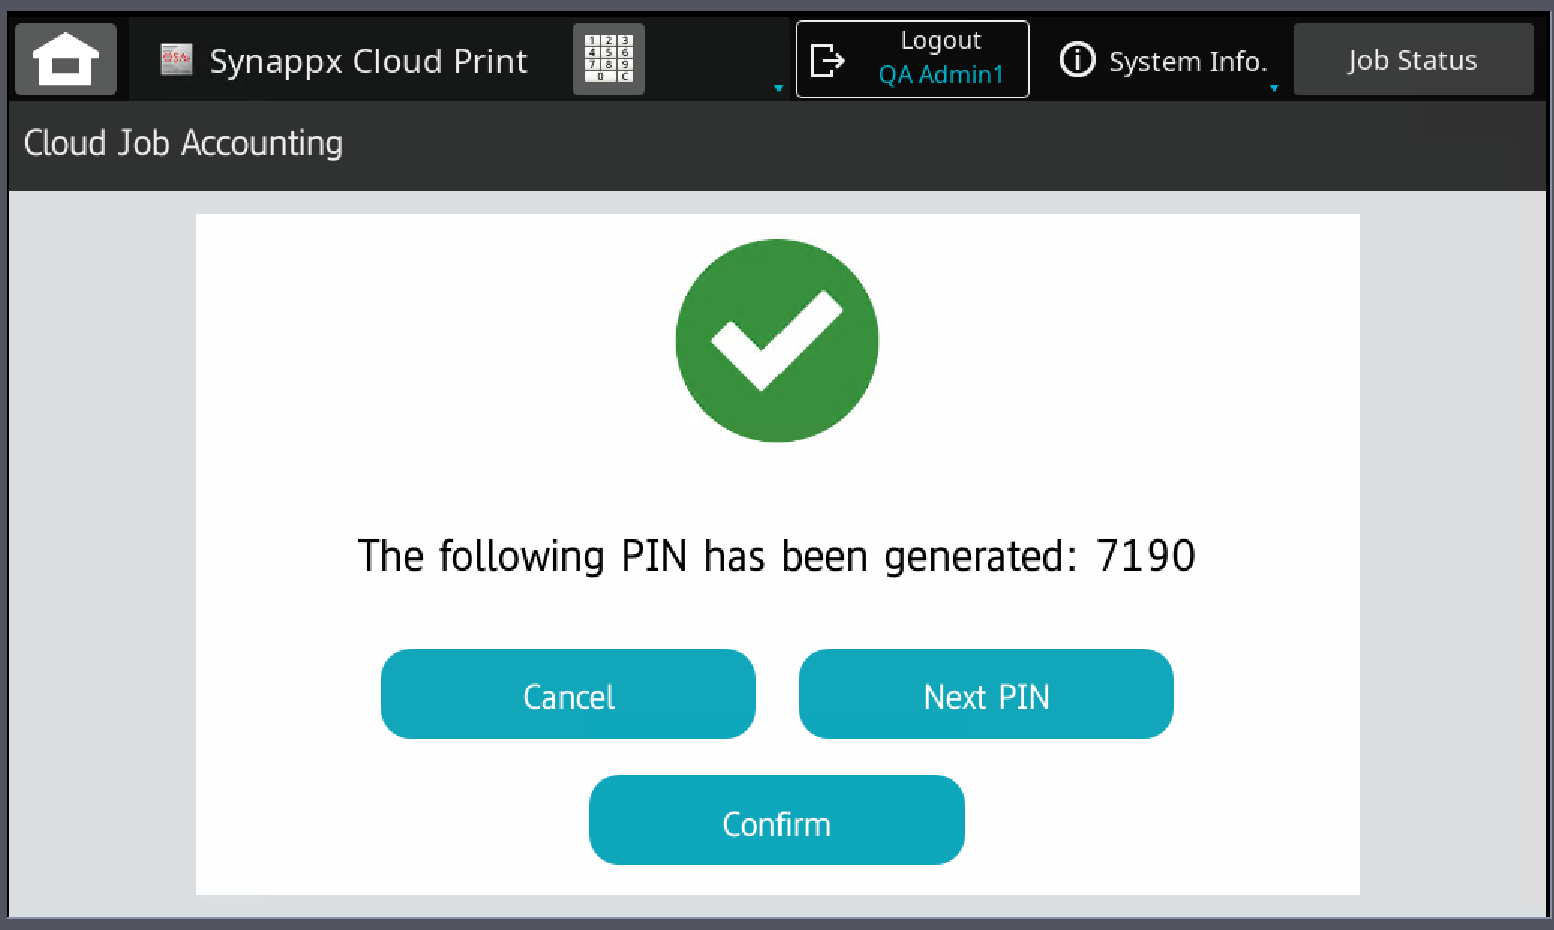
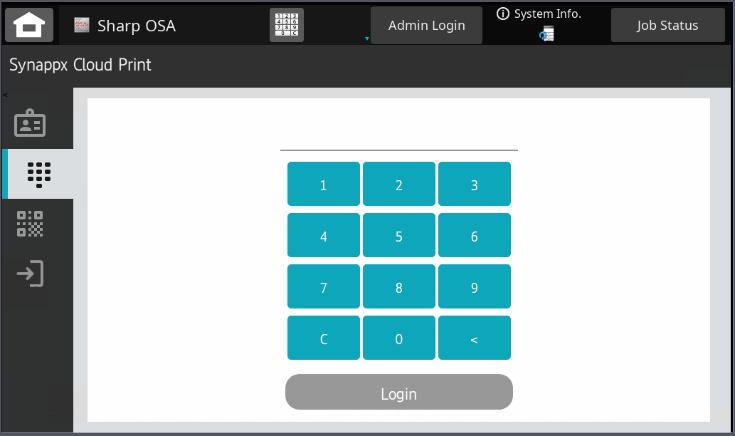
If Generate a PIN is selected then a new PIN will be displayed with the option to accept it (Confirm), Cancel the operation, or generate a different one (Next PIN) [View Image].
You can then Use PIN to log in [View Image].
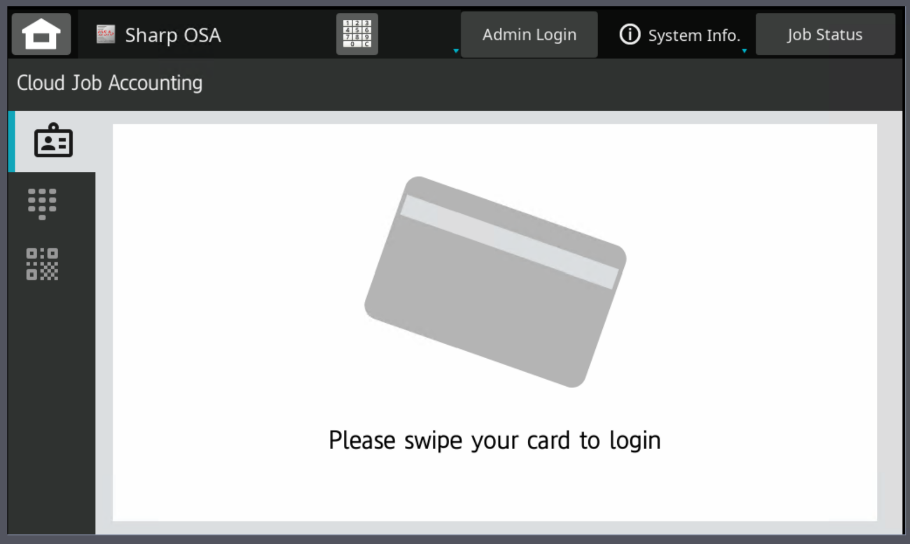
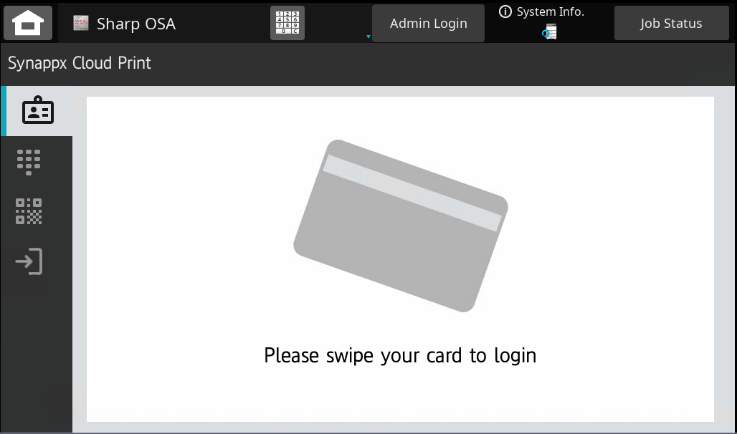
Or if a card reader has been fitted and a card registered, by swiping your card [View Image].
Note: If a card reader is used and a card is registered, you can login to Synappx Cloud Print no matter which login screen is displayed.
When fully configured, you are able to login using:
- Card Swipe [View Image]
- PIN Number [View Image]
- QR Code [View Image]
- Username & Password (not available on all devices) [View Image]