Click the My Files Icon. A list of the jobs held in your queue is displayed. You are then able to select jobs to print [View Image].
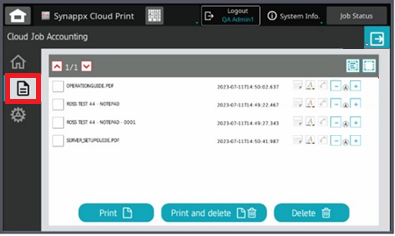
Select a job and then select print. The print job should be sent to the MFP and printed [View Image].
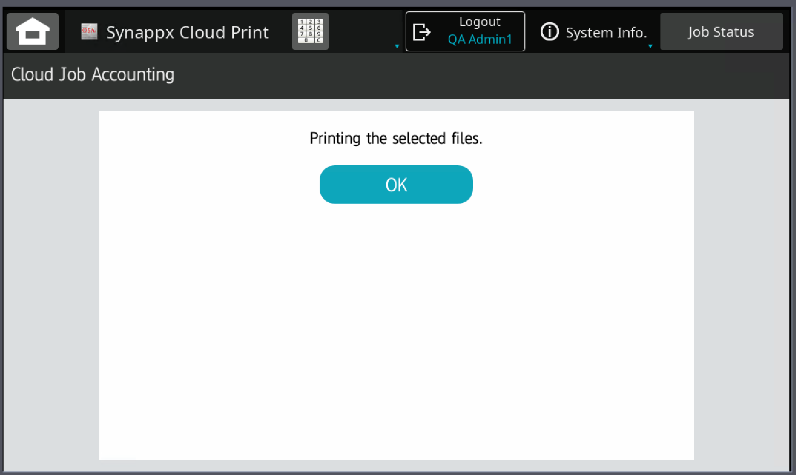
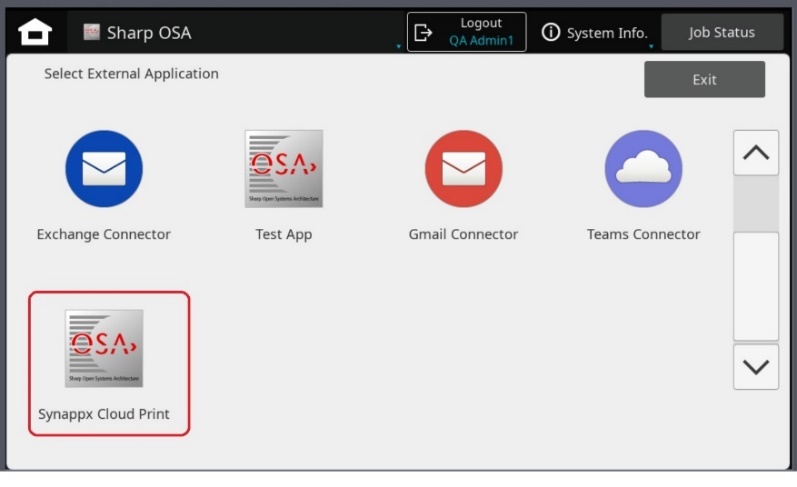
From the home screen, selecting Scan or Copy will take you into the native device screen [View Image].
From the MFP native screen, selecting the standard OSA app setup earlier will take you back to the Synappx Cloud Print home screen [View Image].
It is recommended to place the Synappx Cloud Print button on the MFP front page. Please see the Administrator guide for more information.
You are now back at the Synappx Cloud Print Home screen [View Image].
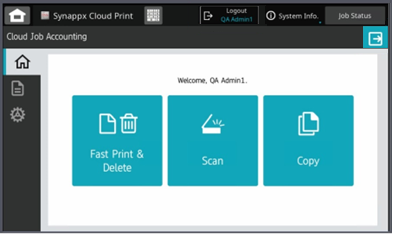
You will be logged out either when a timeout occurs or another user presents their card, the user can also log out by selecting either of the Logout buttons on the screen [View Image].
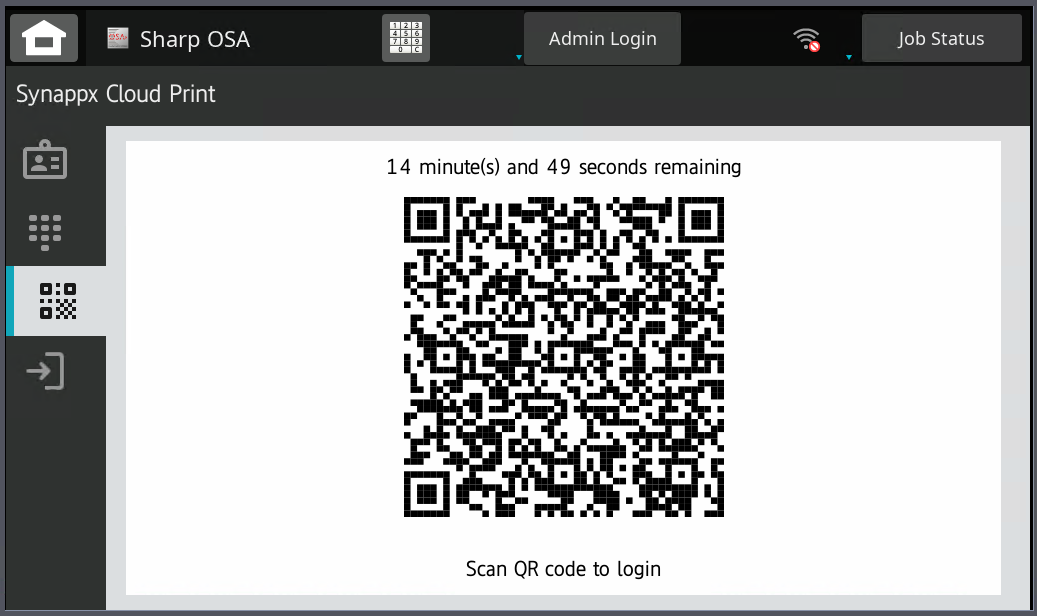
Now that you have Synappx Cloud Print working you can begin to add users to your Portal. Please refer to the more detailed Administrator Guide.