Note: The client software will need to be installed on a Windows PC that is on the same local network as the MFPs. This is for device discovery and printing purposes.
The Synappx Cloud Print Client software can be downloaded from the Microsoft Store
Search for “Synappx Cloud Print” [View Image].
Install the Client directly from the store.
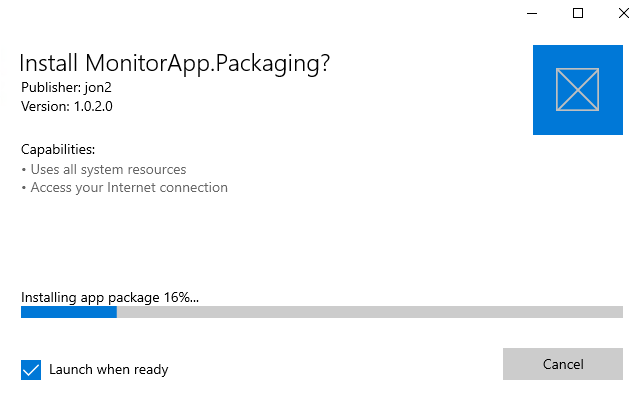
Click Install [View Image].
The client will install [View Image].
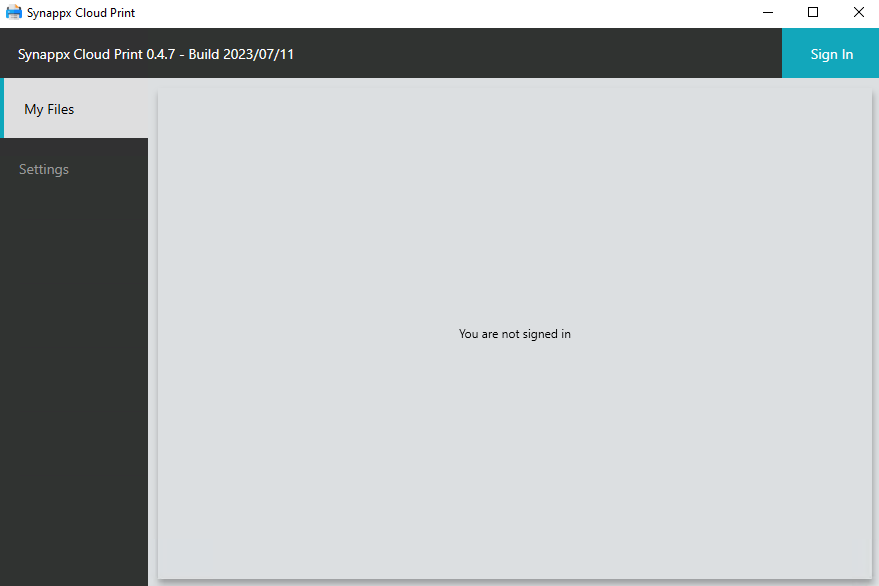
When the Client has installed the Client screen will be displayed [View Image].
Please sign in using your local LRD tenant account.
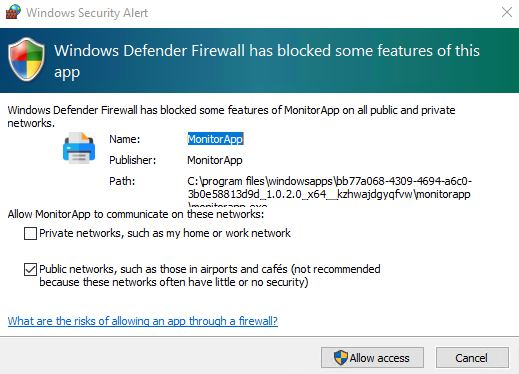
On first sign in you will receive a Firewall message, please allow access so that firewall rules can be implemented for the Client [View Image].
Once logged in, click on the Settings tab. Select the previously installed printer [View Image].
Click Restart to restart the Client.
Once restarted, click Sign In, (you will be automatically signed in). Your username will be displayed once logged in.
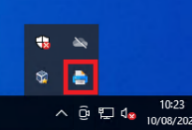
Check that the MonitorApp is running by checking for its icon in the hidden items menu of the system tray in the task bar [View Image].
At this point you can send a test print from your Print Driver and the print job should be displayed in the client software by clicking the “My Files” tab [View Image].
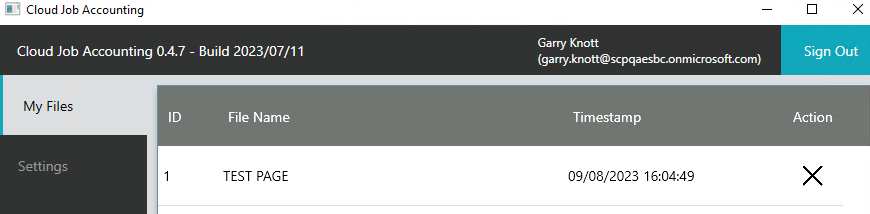