A suitable Sharp PCL Print Driver must be installed on to the client PC using a downloaded Sharp driver installer application, (see client PC setup on page 5).
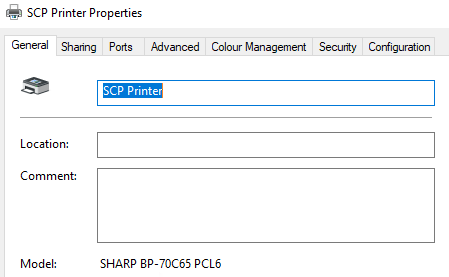
Once installed, give the printer a suitable name, (from Printer Properties – General tab) [View Image].
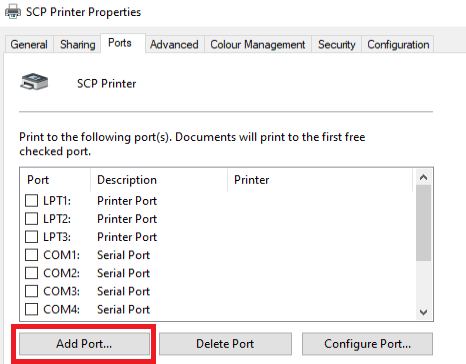
Synappx Cloud Print uses a specific port to print from, you must now add this port to the printer driver. From Printer Properties– Ports - select Add Port [View Image].
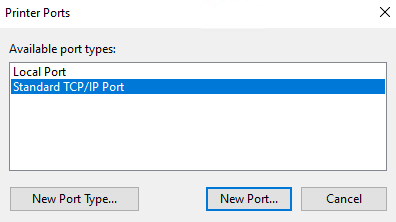
Select - Standard TCP/IP Port > New Port [View Image].
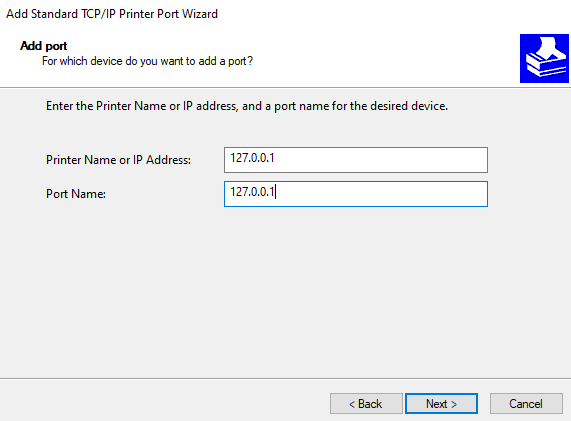
On the “Welcome to the Add Standard TCP/IP Printer Port Wizard,” click Next.
Set IP Address to 127.0.0.1 – Click Next [View Image]
For the “Detecting TCP/IP Port” you may have to wait up to 30 seconds for it to detect the port [View Image].
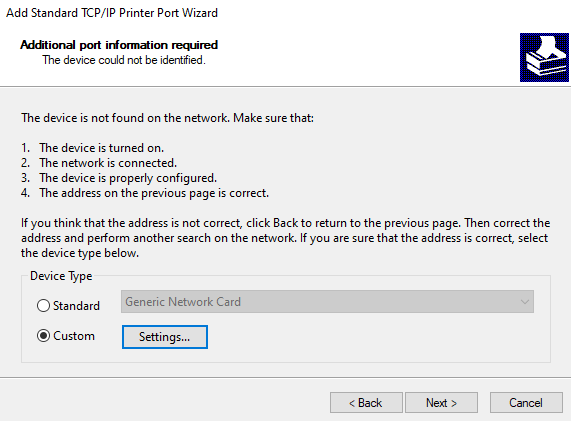
On the “Additional Port Information” select Custom then click Settings [View Image].
Change the Port Number to 57100 [View Image].
Click OK – Next – Finish.
Close Settings.
The next step requires inserting the username into the Printer Driver.
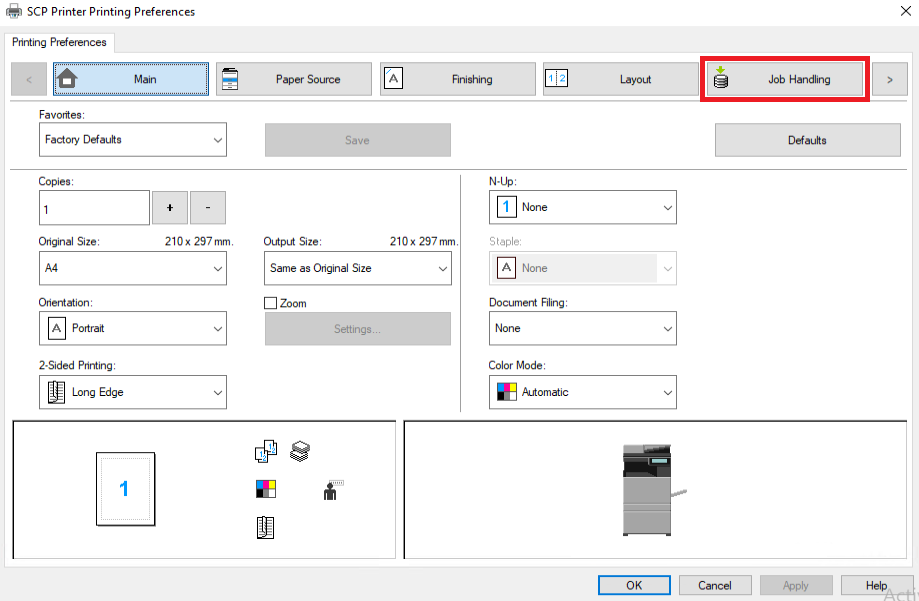
In the Print Preferences for the printer, select the Job Handling tab [View Image].
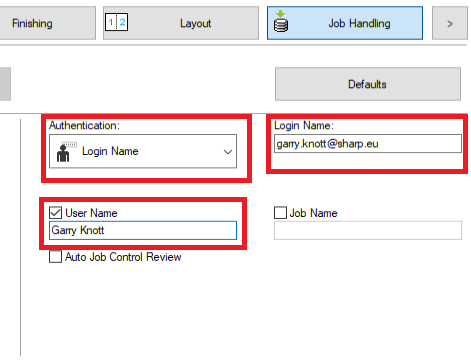
For Authentication choose “Login Name”
For User Name insert the users name
For Login Name enter the user account name for example John.smith@sharp.eu [View Image]
Click OK to finish
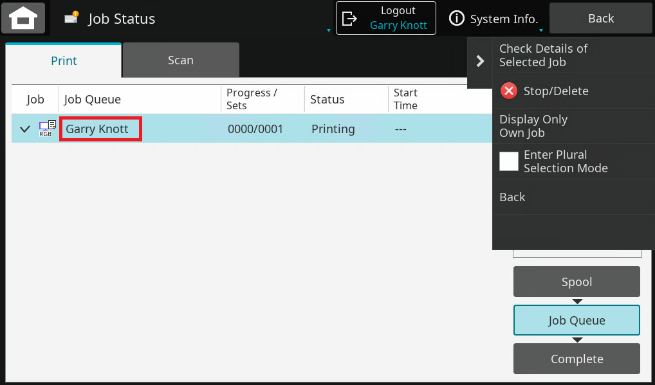
The User Name is used for easily identifying job owners on the MFP screen (and in the portal job history pages) [View Image].
Note: To use the feature [Direct Print], please refer to Addendum B – Direct Print in this manual.